
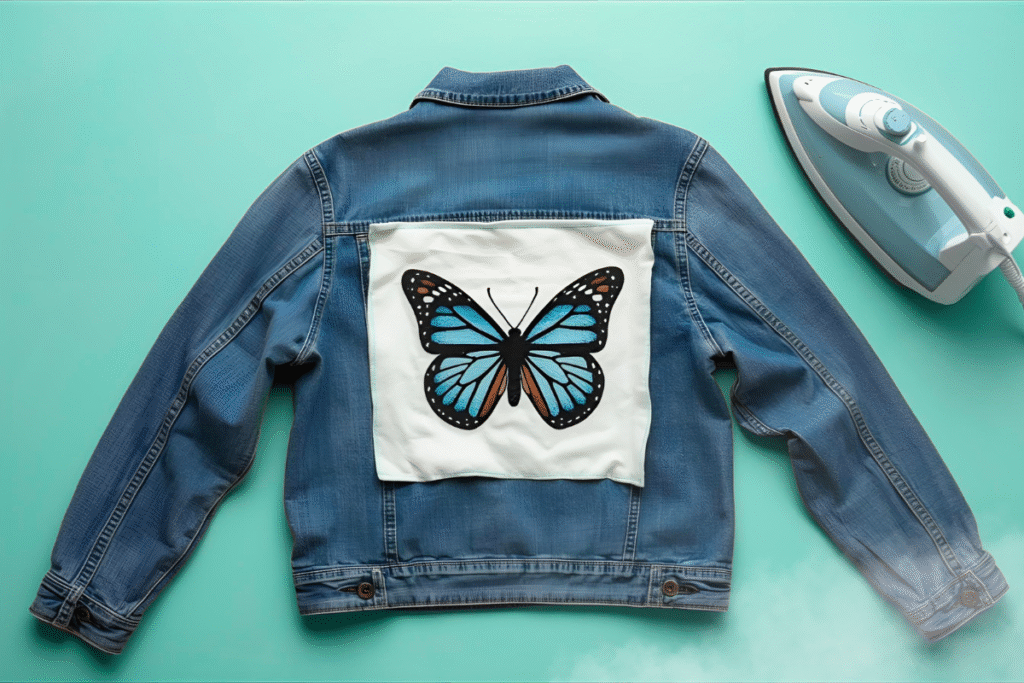
Adding an iron-on patch is one of the easiest way to personalize your clothes, fix a tear, or give your garment a fresh look. Whether it’s a school badge, sports team logo, or a trendy design, ironing a patch on can be done in just a few minutes, if you know the right steps.
In this guide, we’ll walk you through how to iron patches securely, so they last through washes, plus some tips to keep your clothes in top condition.
What You’ll Need for Ironing Patches on Clothes
Before you start, make sure you have everything ready:
- Your iron-on patch.
- A clean garment (washed, dry, wrinkle-free).
- A thin cotton cloth or parchment paper (to protect the patch).
- An iron (steam setting switched off).
- An ironing board or flat surface.
Step-by-Step Guide: How to Iron on a Patch
#1. Prepare Your Materials
- Check the fabric: Cotton, denim, and polyester blends work best for iron-on patches. Avoid delicate fabrics like silk or nylon that may melt under high heat.
- Preheat the iron: Set it to the cotton setting (around 350°F / 175°C). Make sure there’s no water in the iron; steam can prevent the adhesive from sticking properly.
- Prep the garment: Lay it flat and iron the area where you’ll place the patch to avoid wrinkles.
💡Pro Tip: Placing a thin cloth or parchment paper over the patch not only protects, the garment, but also the iron. If any glue melts beyond the patch, the cloth will absorb the excess adhesive. This step is optional, but highly recommended to avoid sticky residue on your iron.
#2. Position the Patch
- Place the patch with the adhesive side down on your chosen spot.
- Cover it with a thin cloth or parchment paper. This protects both your garments and the patch from direct heat damage.
#3. Apply the Heat
- Iron the patch: Press the hot iron firmly onto the cloth-covered patch for 30-60 seconds. Avoid sliding the iron, just press and hold.
- Flip and repeat: Turn the garment inside out and iron the back of the patch for another 30 seconds. This helps the adhesive bond more securely.
#4. Let It Cool and Set
- Allow the patch to cool down for at least a few minutes. This cooling period is important for the adhesive to harden and bond.
#5. Check if It’s Secure
- Gently test the corners of the patch. If they lift, repeat the heating process for another 20-30 seconds.
FAQ About Ironing Patches
It’s not recommended. Direct contact can damage the patch or leave shiny burn marks on your garment. Always use a thin cloth on parchment paper as a barrier.
- The iron isn’t hot enough
- The garment fabric isn’t suitable
- Steam was accidentally left on.
Try reheating with firm pressure or sew around the edges for extra security.
Sturdy fabrics like cotton, polyester blends, and denim hold patches well. Avoid stretching fabrics or delicate materials.
Keep Your Clothes Looking Fresh (Even with Patches)
Ironing on patch is easy but keeping your garment looking sharp after that takes effort. Improper washing or heat can cause patches to peel over time.. That’s where The Care Laundry can help.
At The Care Laundry Singapore, we provide professional laundry and dry cleaning services that keep your patched clothes, uniforms, or customized garments looking new for longer. Our team knows how to handle delicate items, embroidered patches, and everyday fabrics, so you don’t have to worry about your patch peeling off after wash.
💡Looking for a trusted laundry service near you? Explore The Care Laundry’s pickup and delivery across Singapore today!


")
")

")